First off this was supper easy and took less then 10min., with docker and Portainer already installed. That said I made a few mistakes early on, notably when mapping the config volume I accidentally set the location to a dir that did not exits and was on the root of my file system.
First things first
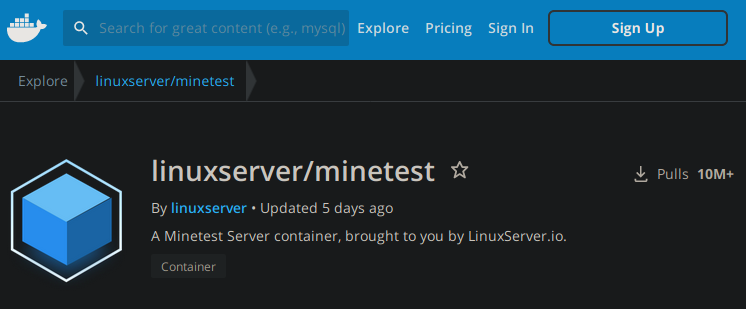
Since I set this up on my RaspberryPi4 I needed to find a container that supported the armhf or arm architecture. Luckily the kind people over at linuxserver have one available at dockerhub.
Portainer.io
Hopefully you are familiar with Portainer.io but if not codeopolis has a nice beginners guide.
App Templates
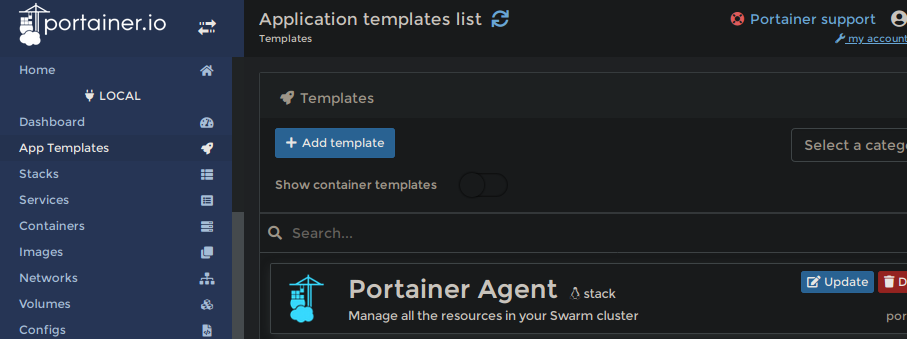
Select the App Templates inside your Portainer instance then Add template
Name and Description
- Give it a Title
- And a Description
Template Options
- Select “Linux” from the Platform dropdown
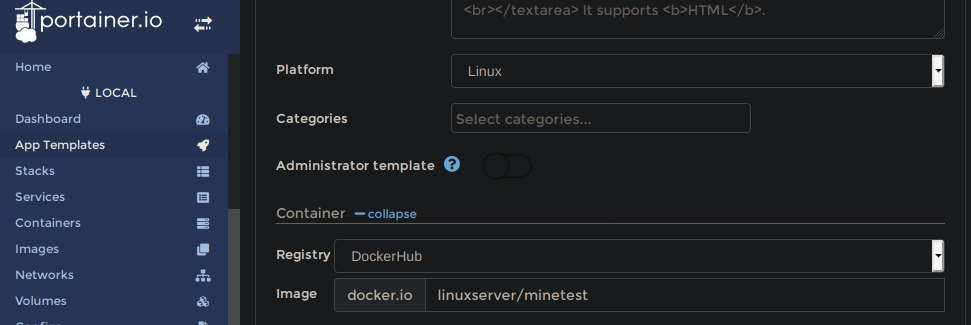
Container Options
- Make user “DockerHub” is selected under the Container Registry
- Enter “linuxserver/minetest” in the Image text box
- Select
Unless Stoppedunder theRestart policy
App Container
Now that the App Template is complete we will move onto the creation of your particular server instance by adding a new Container.
- Click the Show container templates button
- Scroll down and select the the container you just made.
You will be taken to a new screen where you will be given the chance to name your server instance.
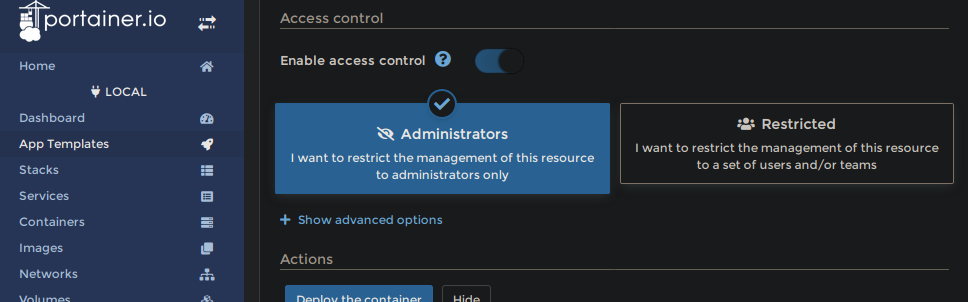
Once the container is named click + Show advanced options under the Access Control this will reveal a new list of features. For now we will only be concerned with the first two.
Port Mapping
Here we need to expose the containers UDP port 30000. Note I’ve mapped it to the host port of the same number but you could mapp it to another port if desired. Take note of the host port this is the one you will point your minetest game to.
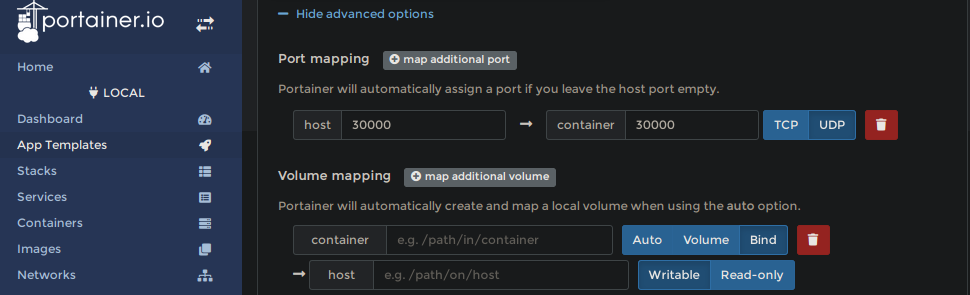
Volume Mapping
Next we need to map a folder on the host machine to the containers /config/.minetest directory.
Be carful here this is where I messed up and mapped the container to a folder on my root
/appdatainstead of my attached storage located/folder/name/of/appdata/config/.minetest
At this point we can Deploy the container this will populate the minetest config folder with the default files.
Editing the minetest config
Once you have deployed the container you can edit the minetest.conf file.
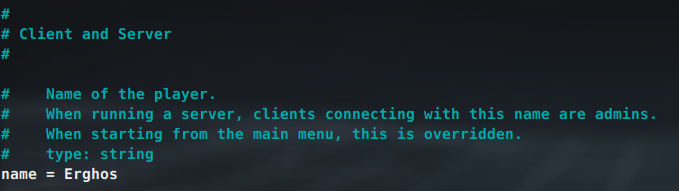
Adding Admin.’s
You will need to open the /folder/name/of/appdata/config/.minetest and edit the minetest.conf file. I used:
nano minetest.conf
Use Ctrl+w to do a text string search and enter # name this should bring you to the right line in the Client and Server section. Type in the name of the player you want to make an admin.
Reload the container and your good to go!!! Log-in by launching your minetest client on your pc/laptop and join your local.host:port to play on your self-hosted minetest server.
Comments are closed